Setting up a new Mac is definitely not an every day task. It's usually a long process which must be done in order to get an efficient work station.In this article, I want to show you, how I approach to configuring the my M1 MacBook Pro. I will share with you whole the process, with the programs and the preferences I usually use. Hopefully you will also find it helpful. Ok, let's go!
Little disclaimer
I am not setting up Macs every day, so when you may read this article, some things may outdate. If something will not
work, toot me, tweet me or let me know in
the comments, so I could fix it. Thanks! 🤘
Prerequisite
prepare some time ~1-2h
good internet connection (as there will be plenty things to download)
something to drink
positive mood 😉 - I will try to make it as easy as possible for you
First download the password manager of your choice!
Optionally: download browsers extensions for easier usage
Apple Developer Tools
Unfortunately many programs will need Apple developer tools, so we install them as well via terminal command. Pay attention as this step might take a while... (this step took me ~10-15min)
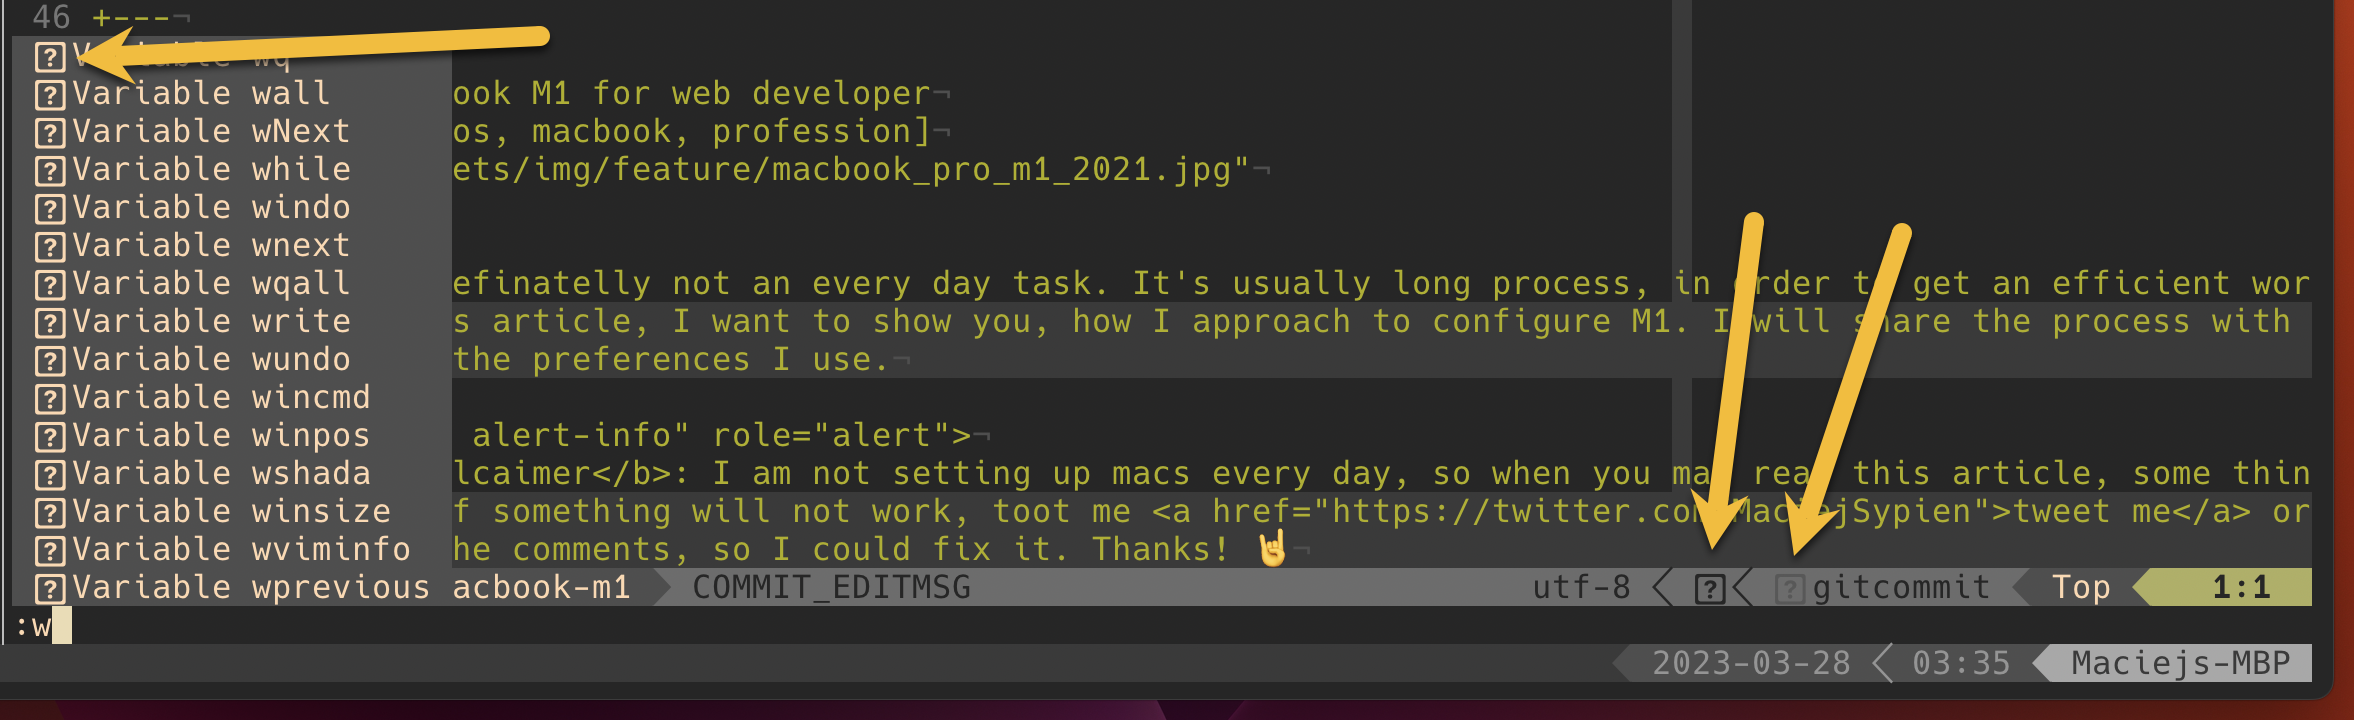
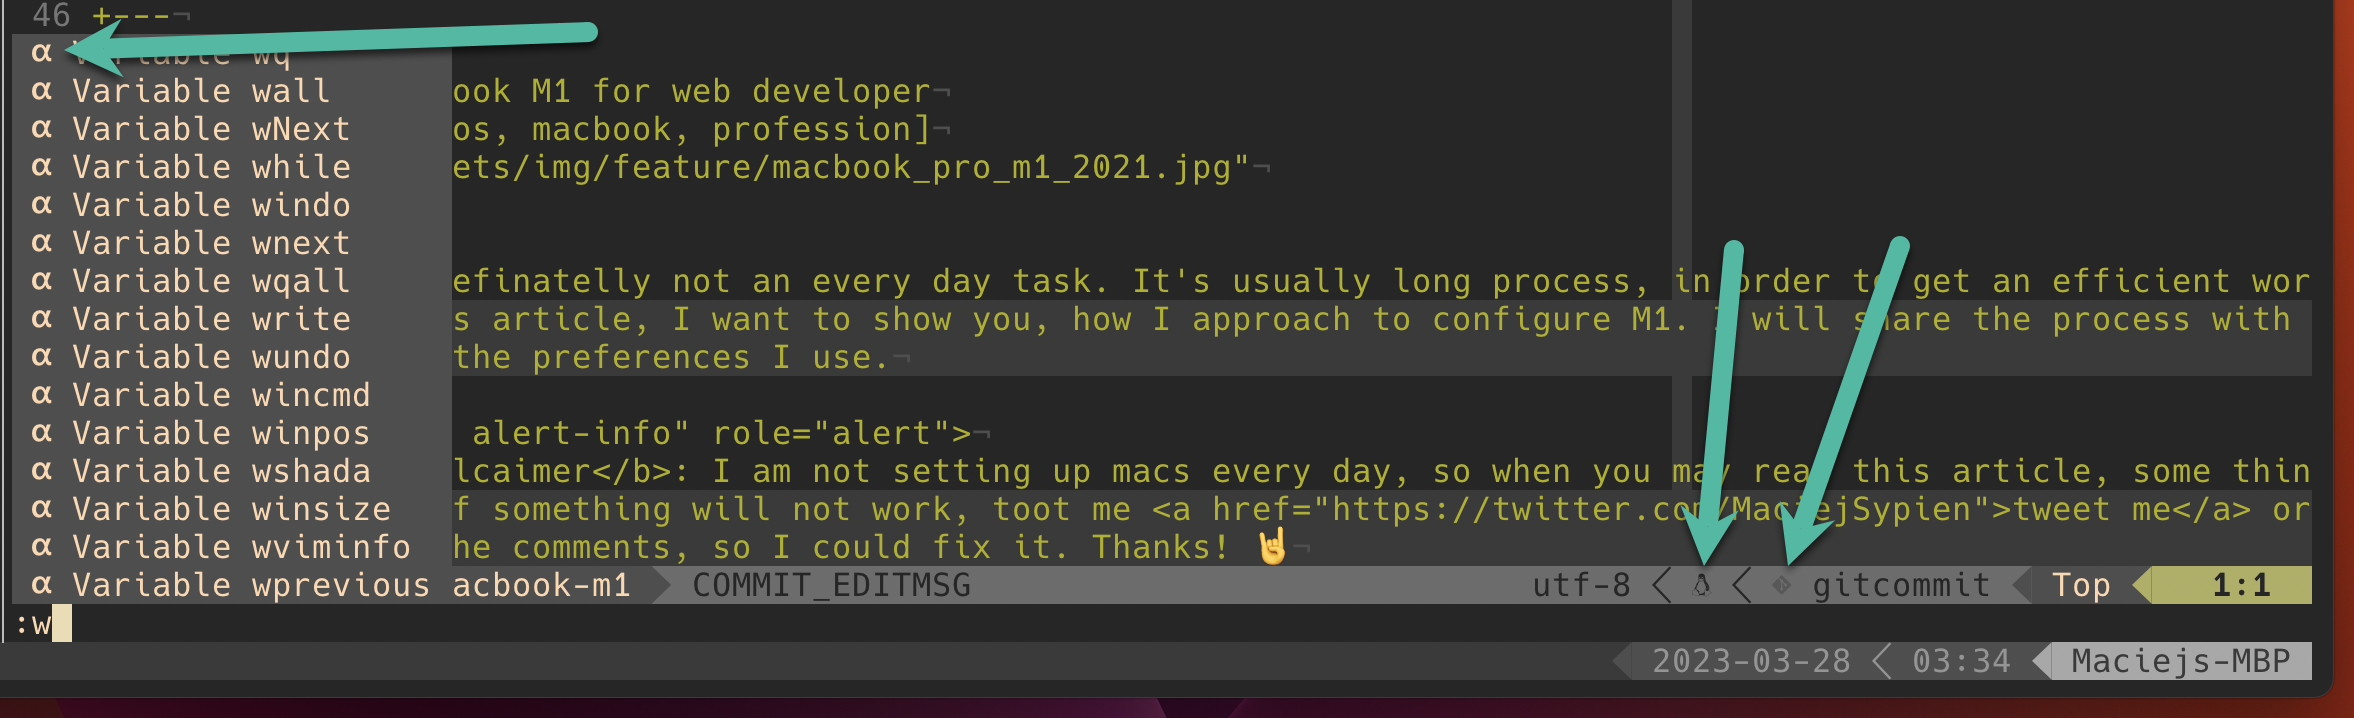
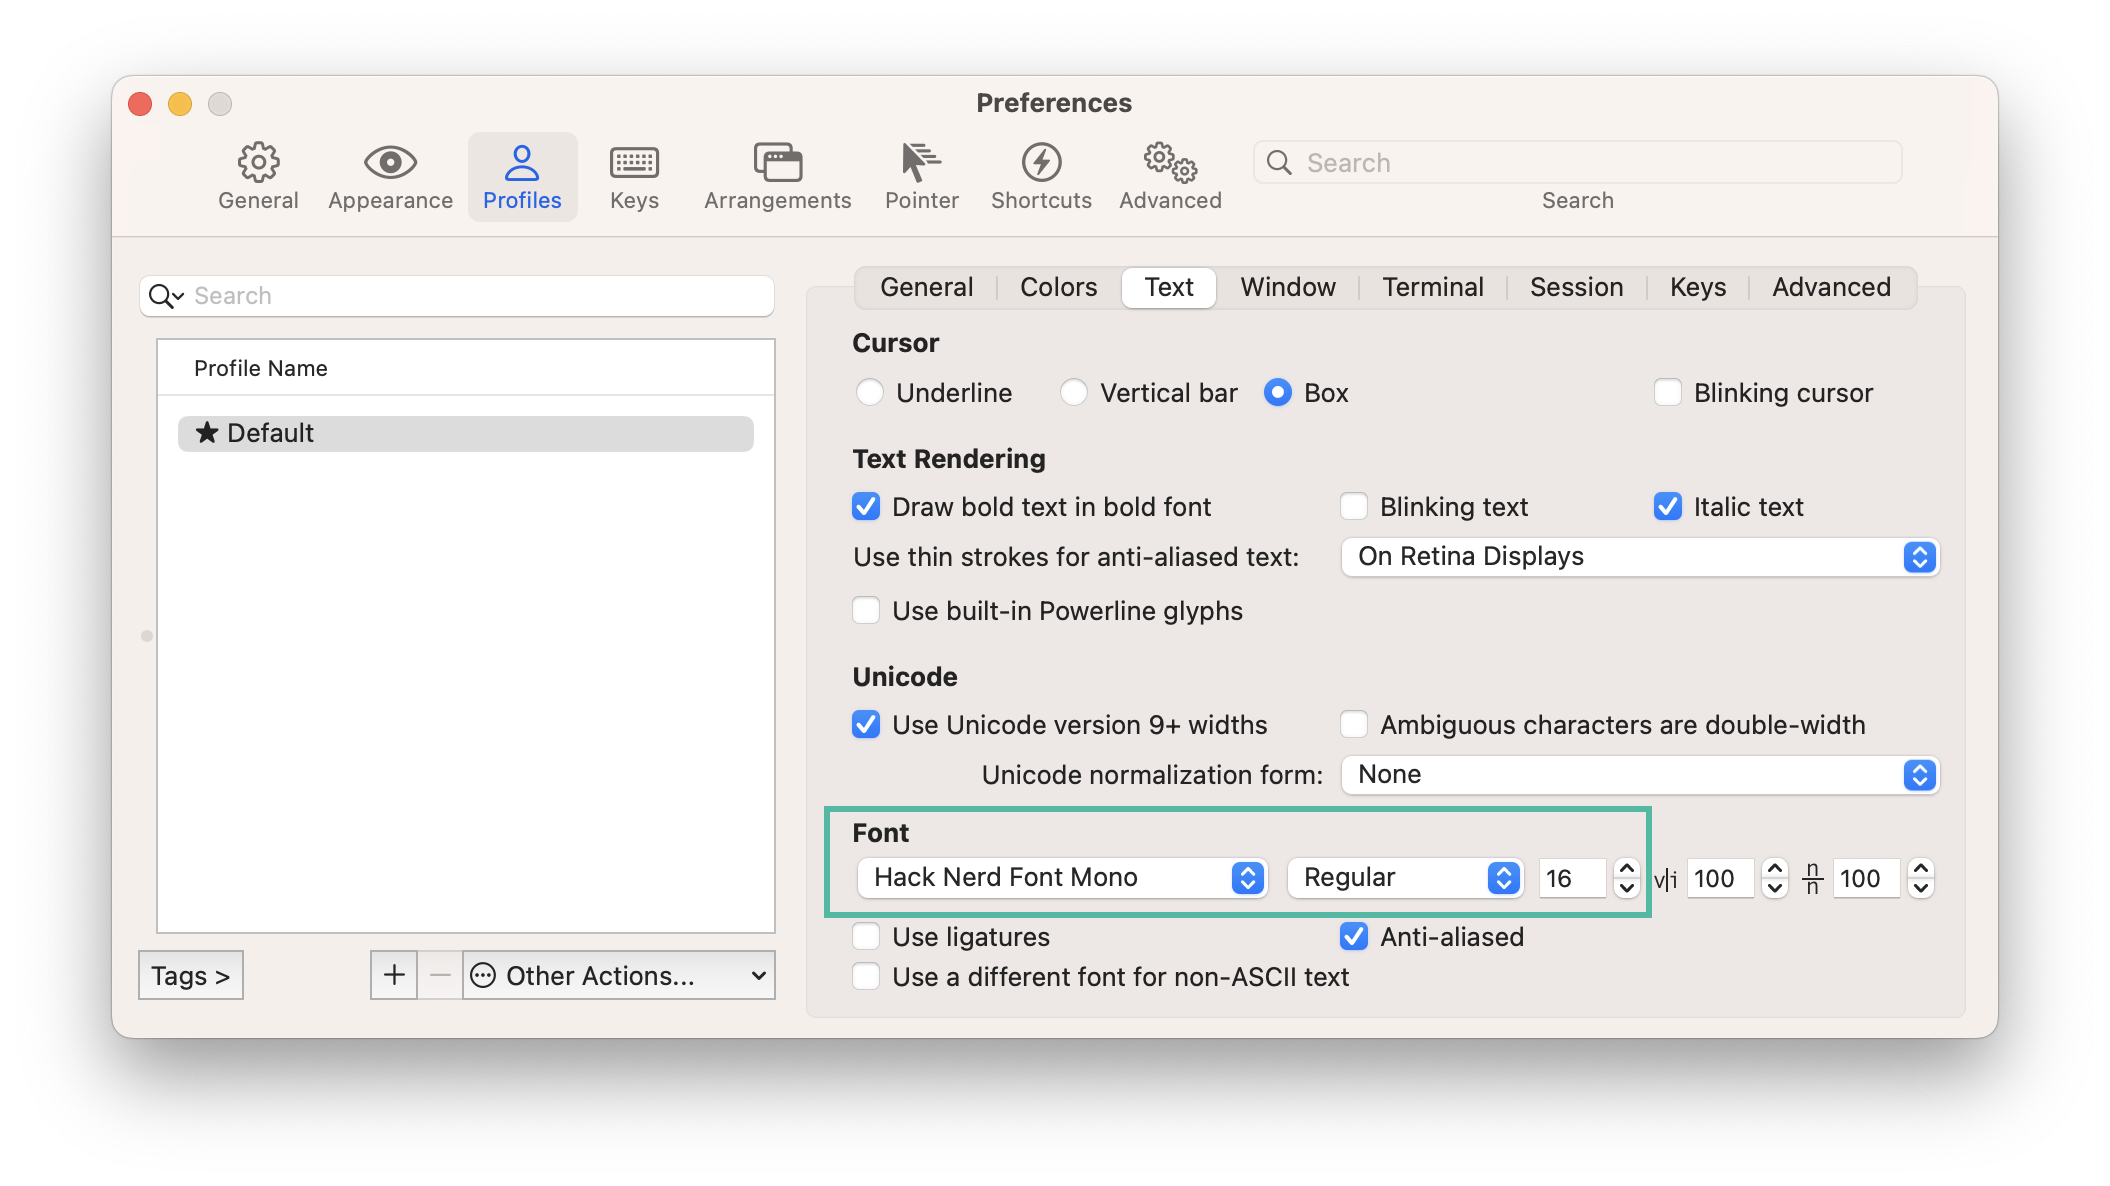
If you like hack font, do not rush with installing it via: brew install font-hack. Instead you may want to have Hack Font with Powerline symbols from the NERD Fonts www.nerdfonts.com/font-downloads. To see a small difference take a look on screenshot below with Neovim.
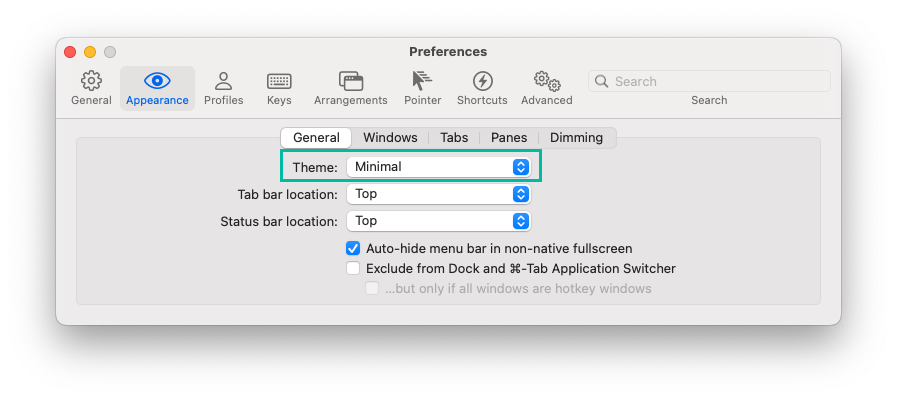
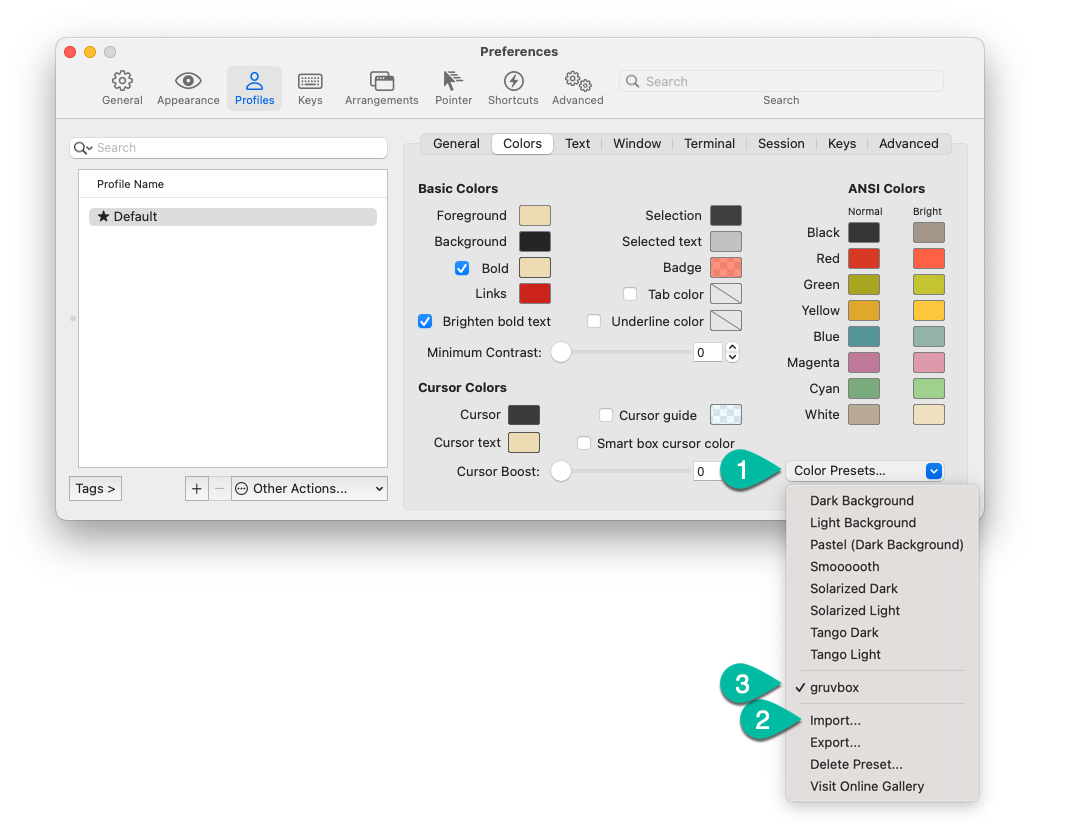
Import downloaded gruvbox color preset into iTerm (2), and after importing activate theme (3).
Iterate through the arguments of previous commands - this is awesome feature of ZSH shell, so if you are interested follow my other post how to loop through previous arguments.
Later in GPG section, we will make sure that gpg keys will be properly added to .local & .local_work files, as they will be needed to sign the commits.
For linux & macOS (Intel), at this moment you would need to run this command git config --global gpg.program $(which gpg), so the path to gpg program can be correctly updated in .gitconfig1.
SSH
Create ssh keys
I love the GitLab's page for the configuration of SSH keys. It's very clear, and all info what needs to be done is there explained, so use it!
# ~/.ssh/config# Connect to gitlab.comHost gitlab.comHostName gitlab.comPreferredauthentications publickeyIdentityFile ~/.ssh/id_ed25519
Info
If you want you can also use ssh-agent, but if you plan to use GPG to sign messages, the ssh-agent name you can simply replace with gpg-agent - all should work fine.More information you can find in here: gpg-agent instead of ssh-agent.
Synchronize your dotfiles
I like to make my files synchronized with my remote repository - this helps me to update main origin when my local changes arise.
Re-linking the files that was directly downloaded from the repo, in order to get full synchronization with the private dotfiles repository.
sh
# gitconfigln -sf ~/privatespace/github.com/egel/dotfiles/configuration/.gitconfig ~/.gitconfig# idea (for vim plugin)ln -sf ~/privatespace/github.com/egel/dotfiles/configuration/.ideavimrc ~/.ideavimrc
Info
Optional: In my configuration I setup few additional files, that help me manage my dotfiles. Like storing private passwords, having additional private configurations, ect. Those files by the design are meant NOT BE STORED under version control systems.If you use them also make sure the files have correct permissions, that apply only for you.
At this moment you should check if your connection is established. Running the command the second time should give you message with your git user.
sh
ssh -T git@gitlab.com# run it 2nd time, to get user$ ssh -T git@gitlab.comWelcome to GitLab, @john.doe!
GPG
Do you know why signing commits is important?
Before starting this section make sure you know and understand why signing your own commits may be so important for you.I better explain this in my another article The lesson of verifying Git commits.
Let's start with basics, like linking configuration folder with local directory.
Now, download your gpg keys (private & public) for all your accounts private (or/and work), as we will add them to gpg configuration in order to sign your things (like commits, private emails).
Get your gpg fingerprint as we will need to use in git. Execute command below and get "signingKey" = last 16 chars of your fingerprint key. (I add arrow, to make it easier for you).
sh
$ gpg --list-secret-keys --with-fingerprint --keyid-format LONG your@email.com |- this would be your "signingKey" ------- |- or here ▼ |sec rsa4096/RPGLBRKNFTAZ2S9K 2019-03-17 [SC] ▼ Key fingerprint = VXE7 T2QX FCJZ YQ6L BEGJ MLMM RPGL BRKN FTAZ 2S9Kuid [ unknown] John Doe <johndoe@example.com>ssb rsa4096/EBEE77C5734494A6 2019-08-23 [E]
Restart gpg-agent in order to use latest configuration.
sh
$ killall gpg-agent2023-03-27 15:13:12 gpg-agent[2253] SIGTERM received - shutting down ...2023-03-27 15:13:12 gpg-agent[2253] gpg-agent (GnuPG) 2.4.0 stopped$ gpg-agent --daemon2023-03-27 15:14:46 gpg-agent[2253] gpg-agent (GnuPG) 2.4.0 started
Fill the key in ~/.gitconfig.local. So it's look more-less like:
Test applied config by reloading terminal and commit something, to see if your commits are signed successfully.
sh
git commit -S "test commit with signing"
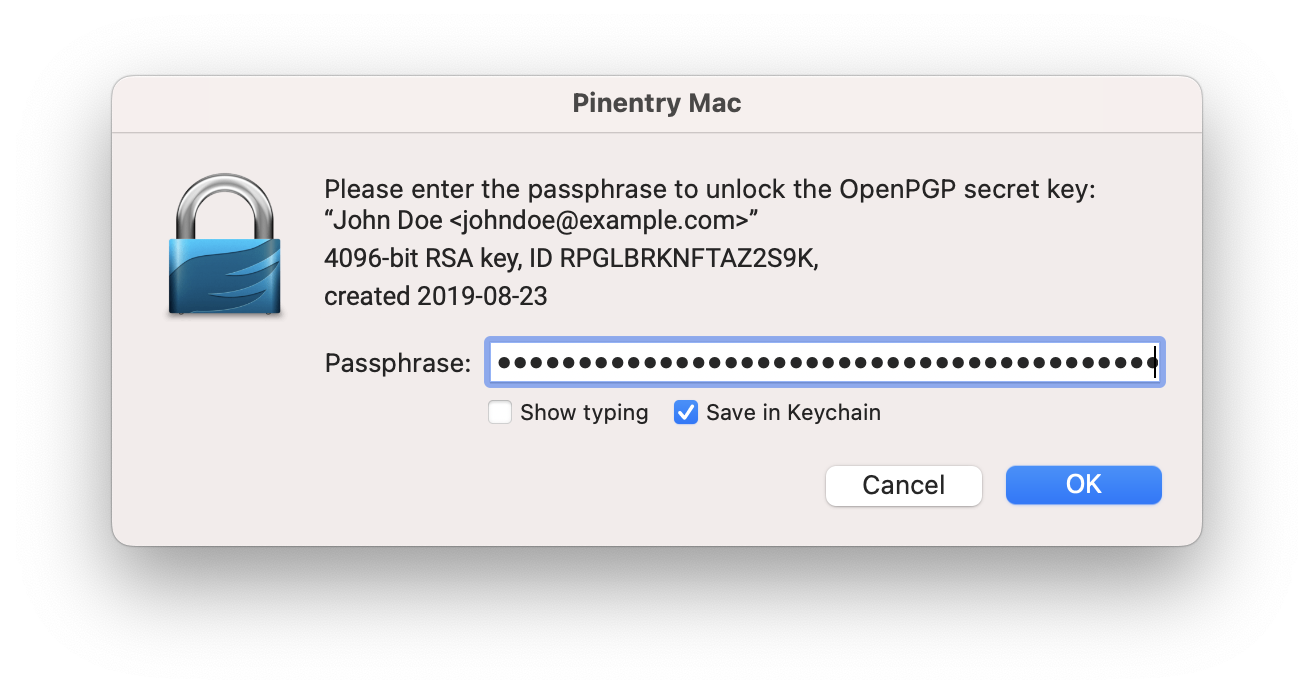
If everything will went successfully, you should get pinentry window, like the one below:
Vim & Neovim
Without a doubt vim is the king of simple text editors. Many of you may argue, but I don't want to lead you astray 😆. Fun story is when I discoverd vim many, many years ago, I was so much confused about this program and ask myself:
Let's start as usual with configuring vim and neovim.
Neovim
Since v0.6.1 from around 2021/20222, the nvim become defacto my primary text editor of choice.
sh
mkdir -p ~/.configln -sf ~/privatespace/github.com/egel/dotfiles/configuration/.config/nvim ~/.config/nvim# Open nvim and install plugins via:PlugInstall
Vim
sh
# vim (after switch to nvim, using this config rarely)ln -sf ~/privatespace/github.com/egel/dotfiles/configuration/.vimrc ~/.vimrcln -sf ~/privatespace/github.com/egel/dotfiles/configuration/.vim/ ~/.vim/# Open vim and install plugins via:PlugInstall
# link configurationln -sf ~/privatespace/github.com/egel/dotfiles/configuration/.tmux.conf ~/.tmux.confln -sf ~/privatespace/github.com/egel/dotfiles/configuration/.tmux-osx.conf ~/.tmux-osx.conf# install tmux-plugin managergit clone https://github.com/tmux-plugins/tpm ~/.tmux/plugins/tpm# type this in terminal if tmux is already runningtmux source ~/.tmux.conf
Open new session abd type tmux new -t new. Next, install plugins from the .tmux.conf file via prefix + I (pay attention, it's big "i". Prefix = ctrl + b).
ZSH + oh-my-zsh
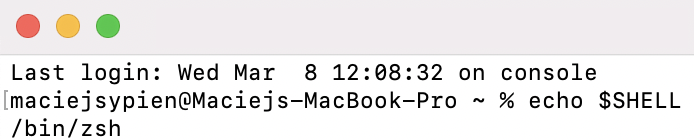
I was positively surprised that by default M1 use zsh shell.
Install missing oh-my-zsh
sh
sh -c "$(curl -fsSL https://raw.githubusercontent.com/ohmyzsh/ohmyzsh/master/tools/install.sh)"
Theme
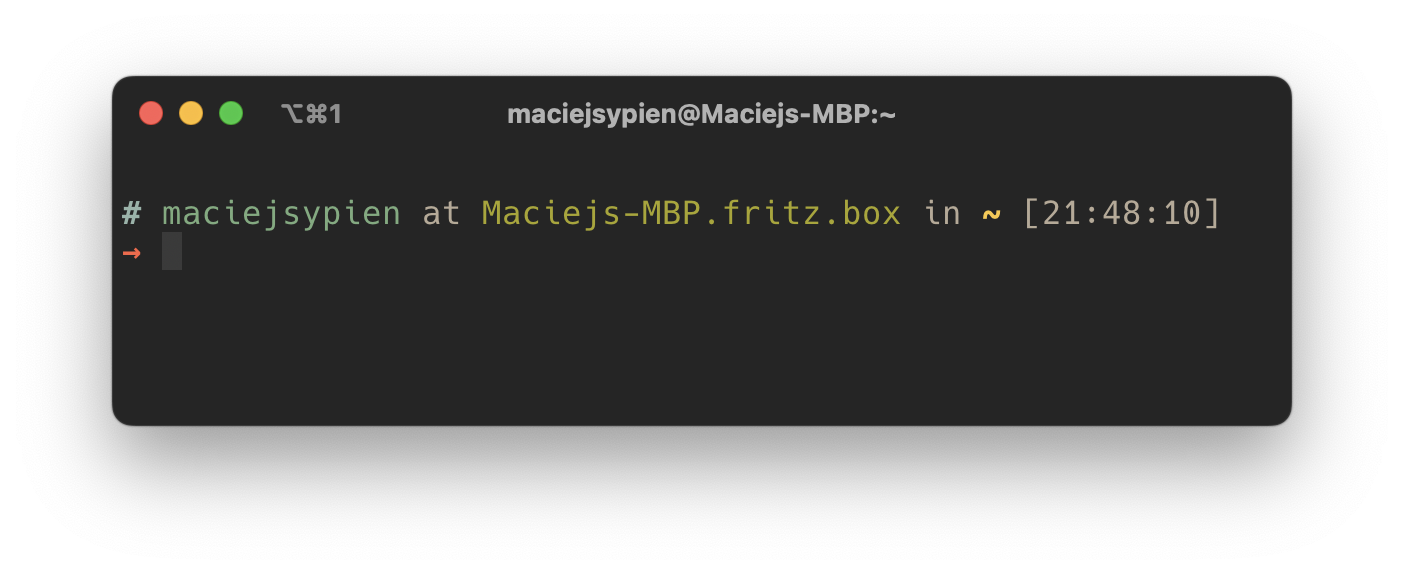
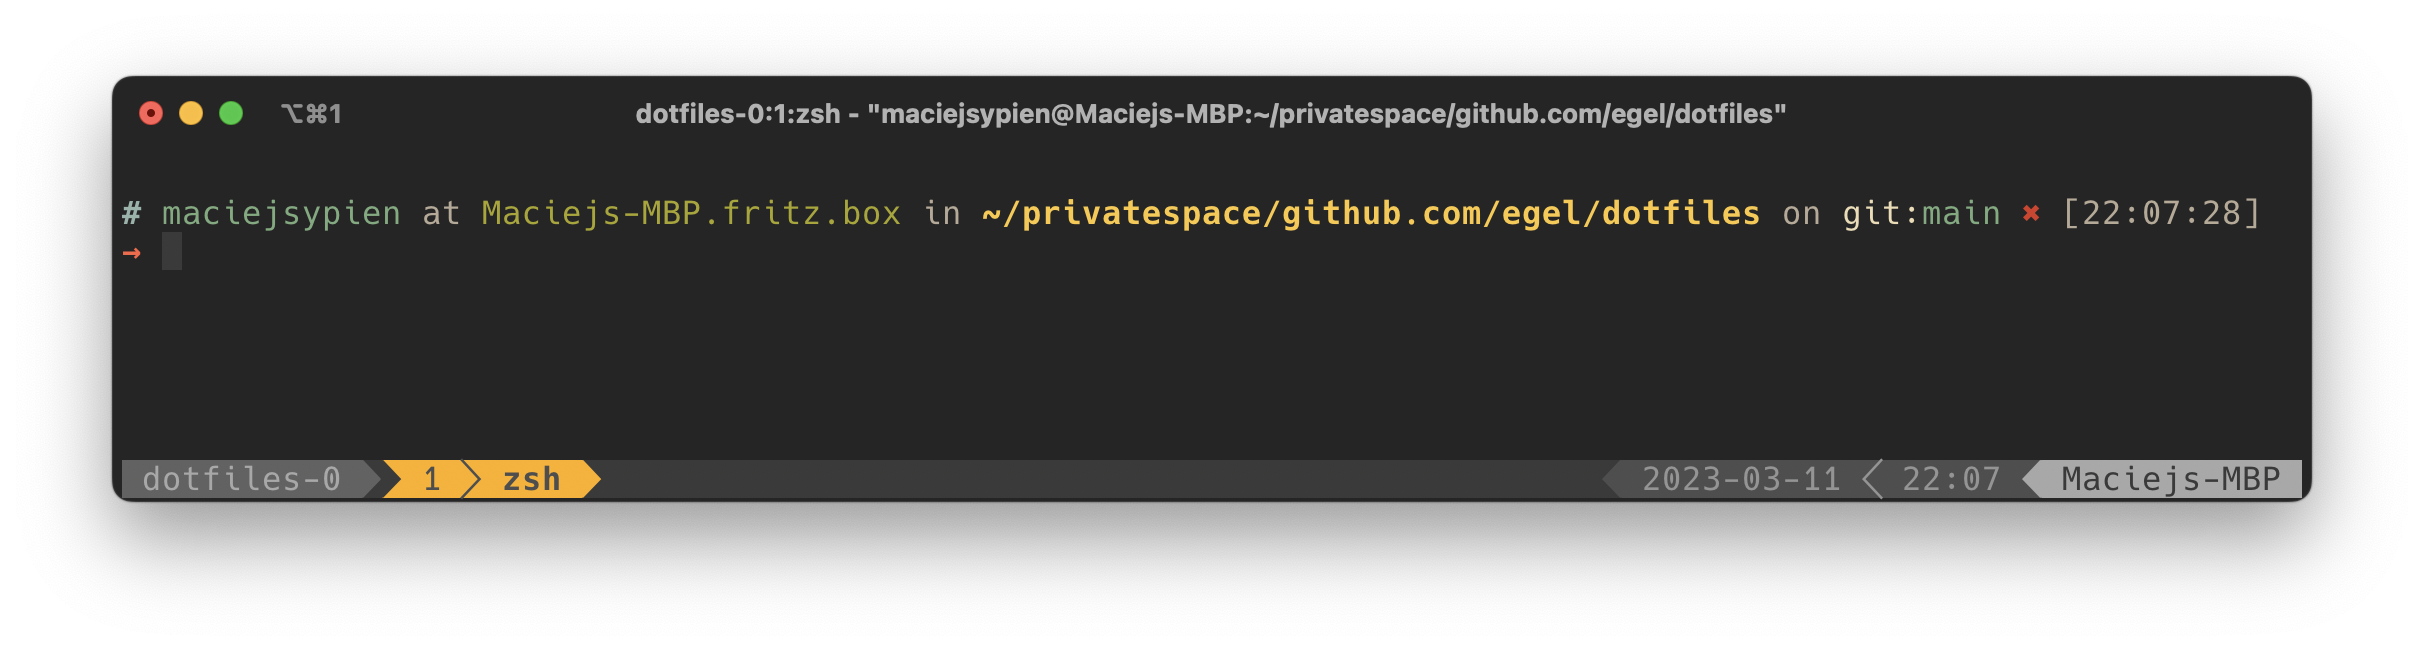
For years I use honukai theme, as it gives me best orientation in the shell.
For all types of screen records, I use default mac screenshot tool, with some combinations from Snagit. The combination of both give the fastest experience to finish a screenshot or record a screen for documentation.
I like to have one path for all type of screen records and usually choose something like:
sh
# Set new default pathdefaults write com.apple.screencapture $HOME/Documents/Screenrecords# kill current UI to apply new write path (no worries, it will not destroy anything)killall SystemUIServer
Finder
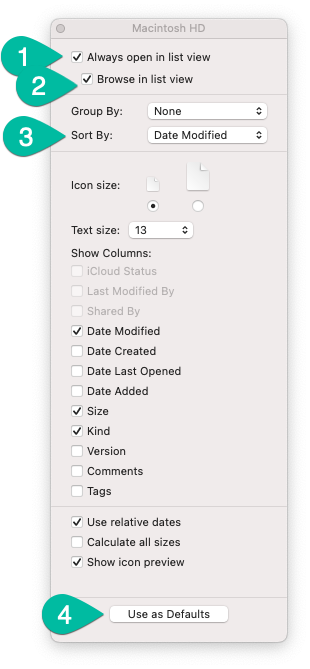
Setup list view as a default view for all folders.
Open hard drive view (usually it's called "Macintosh HD")
Press ⌘ + j
Next after accepting "Use as Defaults", open terminal and remove all .DS_Store files from system used by the Finder, in order to remove all overrides (finder save all meta data about folders in .DS_Store).
sh
sudo find / -name ".DS_Store" -exec rm {} \;
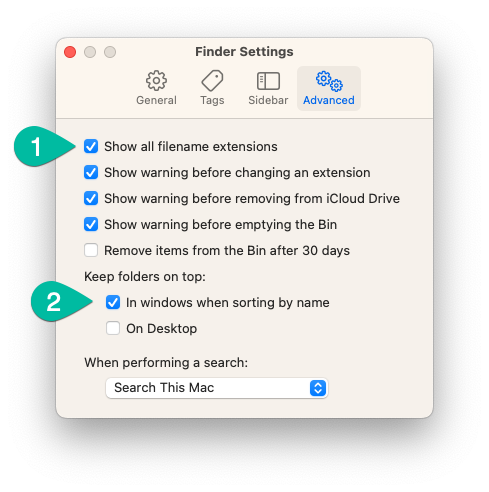
Additionally, I like to display file extensions and sort folder first, therefore my usually setting for finder window is like following:
Open finder
Press ⌘ + , to open window "Finder Settings"
Trackpad
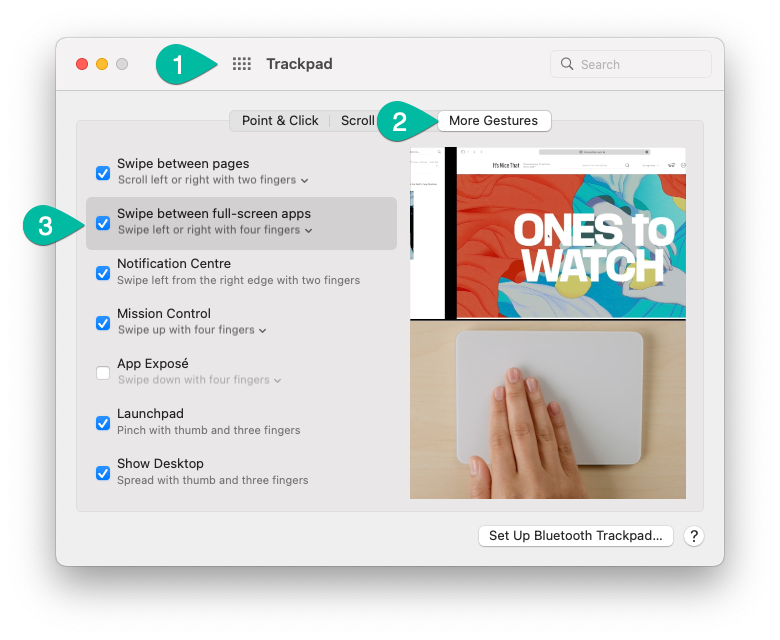
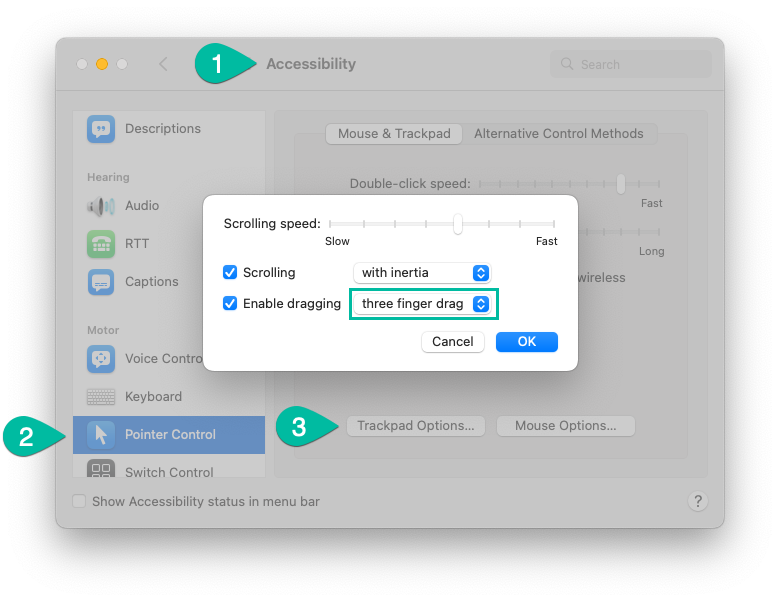
For the mac trackpad I like to setup 2 things I am so get used to, that I cannot imagine work without:
Swiping between screens with 4 fingers
Dragging elements with 3 fingers. I believe this is amazing feature, that not many people know about it. So shout out, use it, it's great!
Displays
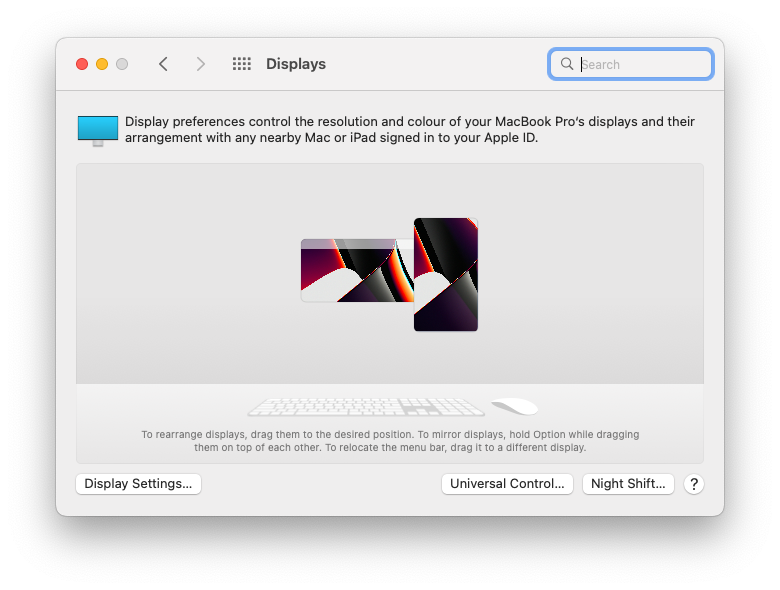
I think this is pretty standard, although having one screen in vertical position is very helpful as this sometimes enable to look on things from different perspective.
Desktop & Stage Manager
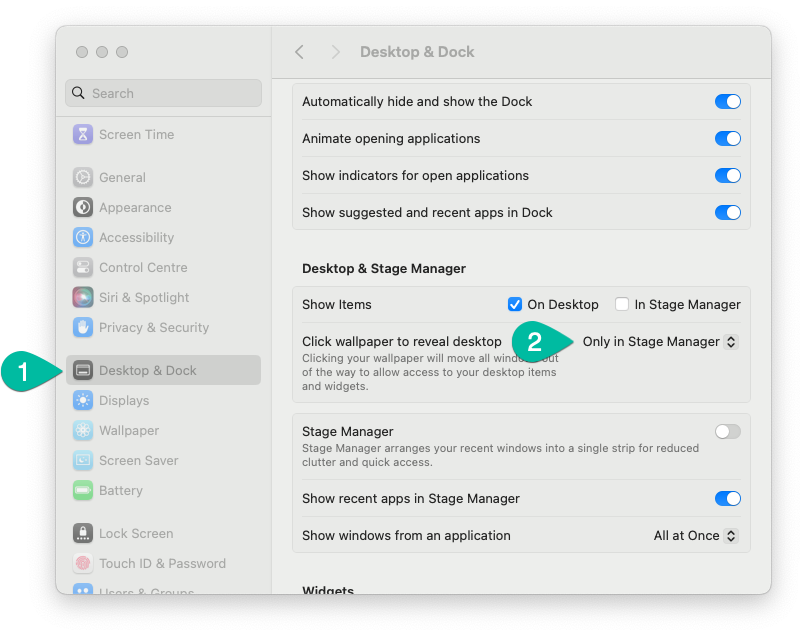
In new version of macOS Sonoma, they introduce widgets on the desktop. One of the new default
features is when user will click on the background it reveals the desktop.
I prefer to disable this feature, and below paste small image screenshot to help finding it.
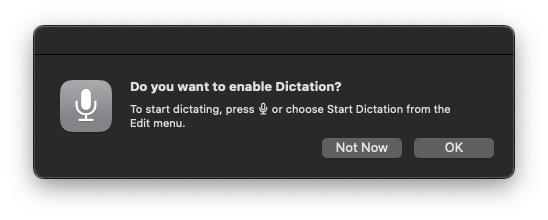
Disable dictation
Using macOS Sonoma?
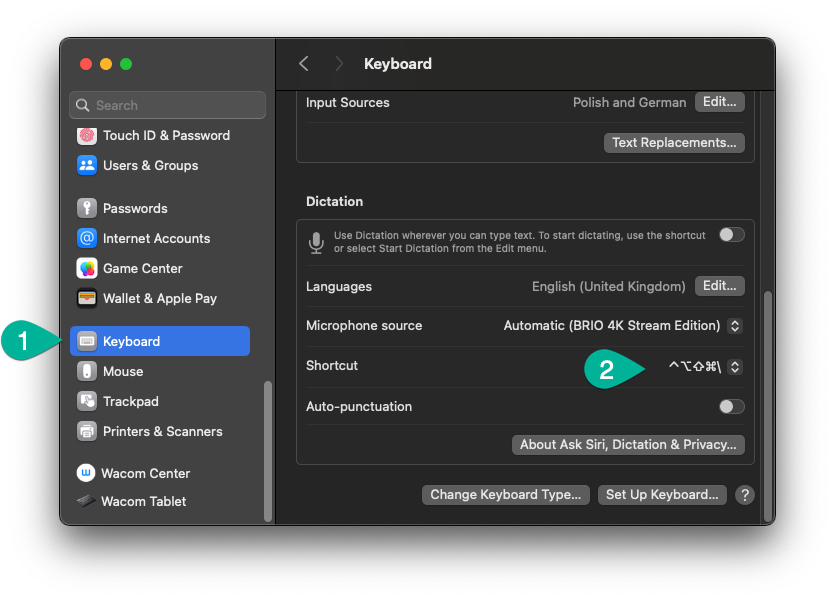
At the moment of writing macOS Sonoma recently removed the option to completely disable this annoying dictation feature on M1 MacBooks. Hopefully this will be fix in future.
The least annoying option I found so far, is to change the current key to the custom mapping that is difficult to click. For example Ctrl + Option + Shift + ⌘ + \
# install nvmcurl -o- https://raw.githubusercontent.com/nvm-sh/nvm/v0.39.3/install.sh | bash# install specific version of nodenvm install 18nvm alias default 18# testwhich nodenode --version# apply changessource ~/.zshrc
yarn
Yarn is connected to version of node running, so best way to install it is via current used node/npm.
Tip
If you use many different node versions on same PC like me (for example via utilizing nvm), you also should remember to install
yarn for each of those different node versions - It's important because installing yarn as global package, it sit in different global node version directory. So if you use v24 and newer project use v26 already - you may not find it after switching.
I didn't found better way to install Java, like through SDK-MAN. I am not much fan of Java, but this is really awesome Java Version Manager similar to rbenv.
To install it, start with:
sh
# installcurl -s "https://get.sdkman.io" | bash`# test if succeeded (or reload terminal)skd version
SDK-MAN configuration
In case you wondering, my configuration for SDK-MAN you can find in my .zshrc
Apple Silicon - Rosetta
Some programs may require installing Apple's rosetta due to compatibility with Apple Intel apps - more in here.
sh
softwareupdate --install-rosetta
Footnotes
The reason is the architecture. After Apple migrated to ARM architecture all the programs for ARM took default paths. The Macs with intel architecture have a different names of the programs, and because of that we need to setup different path. ↩